Blog

  • Musings about material removal – Part 5 – Dressing sharpening stones and inevitable contamination (continued…)

    TL;DR:

    Lemma: When flattening / dressing a sharpening stone, what’s the best approach to avoid contamination? Continuation from a previous post, expanding with other methods.

    Methodology:

    • Made some contamination free 10 µm resin diamond sharpening stones (identical to Dr. Marv’s Scientific sharpening stone)
    • Flattened 1 sample on a glass plate with toothpaste
    • Flattened 1 sample on an ATOMA F400 electroplated stone under running water
    • Flattened 1 sample on a SiC flattening Stone
    • Flattened 1 sample on a coarse resin stone (TSPROF Alpha)
    • Looked under the SEM for contamination – using a backscatter detector which shows elemental contrast and EDS, which identifies elements and thus nails contamination down.

    Results:

    • Flattening a resin stone on the ATOMA F400 works fantastically. Very fast, and because the japanese totally nailed their bond, it doesn’t seem to release any diamonds!
    • All other methods showed varying success. The SiC flattening stone proved completely unsuitable, leaving large tracks of SiC on the stone surface. The toothpaste left very little contamination, but was super slow in renewing the surface of the stone. The coarse resin stone left some particles, but worked.

    Actual Science and long version:

    Sharpening stones experience uneven wear. This is because they are inherently anisotropic in their composition, but also because we as humans use them inequally. Often, the end parts of the stone do not get used, as you do not want to fall “off the edge”. Moreover, different movements, pressures and just general wear sometimes require you to flatten, dress or renew a stone. For simplicity’s sake, I will from this point onwards call the process “dressing”, as it is the technical term. What you apply this to (renewing the surface, flattening the stone or actual dressing, e.g. creating a surface morphology suited to the application) is irrelevant, as the general mechanic is a 3 body abrasion on a flat surface. In the last instalment on this, we looked at popular choices. Since then, I’ve sharpened a lot of knives and used a lot of different sharpening stones. I’ve experimented with dressing and I think I found a wonderful solution, which I want to share here!

    Let’s take a look at the methods:

    I.) Toothpaste on a glass plate

    I’ve tried several “home methods” that could be considered abrasives. Something I had high hopes for, but didn’t work at all was salt – I thought some coarse salt, very lightly wetted, would probably abrade the soft matrix. Sadly, after a lot of rubbing it around, I didn’t see any change on the stone. Same with coffee grounds! The last thing I took a look at was toothpaste. I used a charcoal containing “whitening” one, as those have a high content of polishing particles in them. (Exact brand, without wanting to make advertisements for them: “Colgate Sensation White: Aktivkohle”)

    The toothpaste worked … kind off. Removal is very slow, and it takes a long time to remove even a bit of material. Nevertheless, it smells fresh and minty. That’s nice.

    Under the SEM, the surface looks like this:

    A black and white microscopic image showing a textured surface with intricate patterns and features, captured at 200x magnification.

    Because we are using the “BSD” sensor of the SEM, heavier elements appear with a lighter colour. We can make out a lot of particles here on this surface -but all “medium grey” ones are actually the diamond. A couple of small, lighter coloured ones are visible. Via the SEM’s EDS sensor, we can identify these:

    An electron microscopy image displaying a dark background with a blue crosshair over a specific spot, along with a data table detailing the elements Carbon, Oxygen, and Silicon, including their atomic and weight concentrations.

    These particles can be identified as “SiO2”, which actually is the abrasive of many toothpastes. I’m surprised that it’s pretty much the same size as the diamonds – but I guess 10 micrometre SiO2 means that it’s not yet ultrafine particulates, and still is small enough to not feel like a mouth of sand.

    SiO2 is hard enough to scratch martensite, so at finer stones, I wouldn’t advise to use toothpaste to prefer the surface. Nevertheless, it’s a gentle and smooth way to renew a resin stone and bring new diamonds to the front.

    II. ATOMA F400 under running water

    Yes – another EP stone! Last time I used a relatively cheap and low technology EP stone. There, we found larger diamonds, corresponding to the EP stone grain size. In the time since then, I’ve reviewed the ATOMA F400 as a sharpening stone – and was not only thrilled by it’s performance to set a bevel (still my favourite stone for this!), but also by the high-tech, super strong bond ATOMA employs. Because this bond is so strong, I tried dressing the resin probes with this one, to see whether it would hold the grain better. For this, I first took a piece of relatively soft stainless steel (cheap kitchen knife) and vigorously rubbed it over the stone’s surface for some minutes, under running water. This got rid of any “looser” particles. After this, I rubbed the sample specimen in a figure 8 movement directly under the stream of water.

    Let’s take a look at the SEM:

    A highly magnified scanning electron microscope image showing a textured surface with irregular patterns and details.

    We can see a smooth, regular surface. No foreign particles are visible in the BSD – and also no “dulled” or shattered diamond particles. Frankly, I don’t see any resin bond being strong enough that two diamonds can crush each other – and for me, this is the “premium” method to renew a resin stone, which is also what I’m using on my personal sharpening stones. It’s relatively affordable, wonderfully quick and leaves the sharpening stone at a smooth, low roughness. Because the ATOMA plates are very well made, the sharpening stones become ultra flat, too! At some point, it will feel like the stone gets “sucked” onto the ATOMA.

    The EDS analysis shows no foreign particles:

    A complete map illustrating elemental composition, showing a grey and brown textured surface with a data table below. The table lists elements such as Carbon and Oxygen along with their atomic concentrations, weight concentrations, and stoichiometric weight concentrations.

    III. SiC dressing block

    Very readily available, and dirt cheap are so called SiC dressing/flattening stones:

    A textured, dark grey rubber mat with a zigzag pattern, resting on a light grey surface.

    First, let us take a look at these under the SEM,because I’m curious what they actually are:

    An electron microscope image showing a textured surface, likely of a material sample, with irregular shapes and varying shades of grey.

    SEM micrograph of a “SiC flattening stone”. Instrument: Thermo Fischer PhenomXL

    This is pretty cool! Looks like super large, sintered and slightly fused SiC particles, with lots of porosity in between. EDS analysis only showed Si and C – so this really is what the label says.

    A larger excerpt (stitched image of about 5×4 mm):

    Microscopic view of a textured surface showcasing irregular, jagged patterns and numerous porous holes.

    Dressing on this one is QUICK. Like, this thing is a file. I used it under running, warm water. Unfortunately, in the SEM, but also to the naked eye, brown streaks are visible after a short amount of dressing:

    A high-magnification electron microscope image showing a textured surface with intricate patterns and details.

    SEM micrograph of the SiC flattening stone “dressed” surface. Do note the angled, bright coloured streaks which are SiC.

    In the SEM, these are immediately visible as light coloured, heavier element particles. EDS analysis shows that this is SiC which rubbed of onto the diamond stone surface:

    A detailed map image displaying a microstructure with varying textures, accompanied by a table listing elements carbon, oxygen, and silicon, their atomic and weight concentrations, and stoichiometry.

    Detail of the streaks:

    A dark microscope image of silicon, displaying a textured surface with scattered light reflections and measurement indicators at the bottom.

    EDS showing the Si channel, visible all over the sample. Instrument: Thermo Fischer PhenomXL.

    IV. Coarse resin stone

    A good sharpening contact and fantastic customer told me he uses an old resin stone to dress his stones. I was curious whether this would loose some particles, and tried it out myself. For this, I used a TSPROF alpha 120 µm stone – because it is very coarse, resin based and I’m not a particular fan.

    Scanning electron microscope image showing a high magnification view of a textured surface with irregular patterns and granularity.

    This showed larger, bright particles in the SEM. EDS analysis:

    A microscopic image showing a spot analysis with parameters indicated, including FW, mode, point, and detector settings. Below the image, there is a table listing elements (Carbon, Oxygen, Sodium, Aluminum) along with their atomic percentages, weight percentages, oxide symbols, and stoichiometric weight concentrations.

    We can see some Sodium and aluminium in these particles – and if we compare this to the composition of the TSPROF stone:

    An elemental map displaying various material compositions, with colour-coded elements shown in a grid format. The main image depicts a mix of green, pink, and red areas, indicating different chemical distributions.

    So – while it worked surprisingly well, and quickly created a relatively smooth surface, we also abraded the softer fillers of this stone into the diamond resin stone sample. I would say this is a decent method, if you have a diamond resin stone which contains some filler – the particles seem to be in a similar size to the stones grit size, although this could also be just happenstance. Overall, I think this is an “okay” way to dress a stone, but falls short of the ATOMA performance.

    Final conclusion:

    I originally planned (and had some designs!) for a contamination free dressing device to offer to similar enthusiasts as I am. But for my personal sharpening stones, I think the ATOMA F400 is a fantastic choice in dressing them. It’s relatively affordable, super quick, smooth surface and lasts quite a long time. I was able to dress about 30 sharpening stones before it became a little bit slower. In the SEM, I wasn’t able to find any foreign particles, or larger loose diamonds. Customers have reported great success in dressing even fine, ultra pure stones with this. As I personally also use an ATOMA to set bevels, I’ve just created a rotation – first use them to sharpen, and when they become slightly dull, they get relegated to “dressing duties”.

    If you have any input on methods for a 3rd instalment of “dressing methods, please reach out to me!
  • A brief study on sharpening stones – Part 42 –  PDTools Silver 160 Grit (125/100 µm, CBN, Metal Bond)

    A brief study on sharpening stones – Part 42 – PDTools Silver 160 Grit (125/100 µm, CBN, Metal Bond)

    This is part of a series of blog posts – looking into the appearance and composition of commercially available sharpening stones. If you are interested in the previous episodes, check out the archive for them.

    If you have some suggestion on what I should look at next, or want to share your super secret DIY stones, I could be persuaded to open the bag of analytical devices… hit me up on Instagram under @marvgro for that.

    Disclaimer: I’m not for sale. Every review you see on this blog is bought with my own money. I have no affiliation to any manufacturer.

    Review

    Today’s sharpening stone is the coarser brother of the PDTools 650 grit silver we’ve analysed before. According to the manufacturer, the bond is a “hybrid vitrified” one – we’ve proven on the 650 grit that it’s mostly a markting buzz word bingo, as it’s just a very hard metal bond. Let’s dive into the coarser one:

    Optical micrographs of the PDT Silver 160 grit stone. Instrument: Leica Emspira

    The lovely thing about LARGE abrasive media is – they are easy to identify under an optical microscope! The 160 grit stone has very visible CBN particles. They are pretty evenly distributed and blocky in their shape. In between the CBN grains, a silver bond is visible.

    Let’s focus on this stone under the SEM:

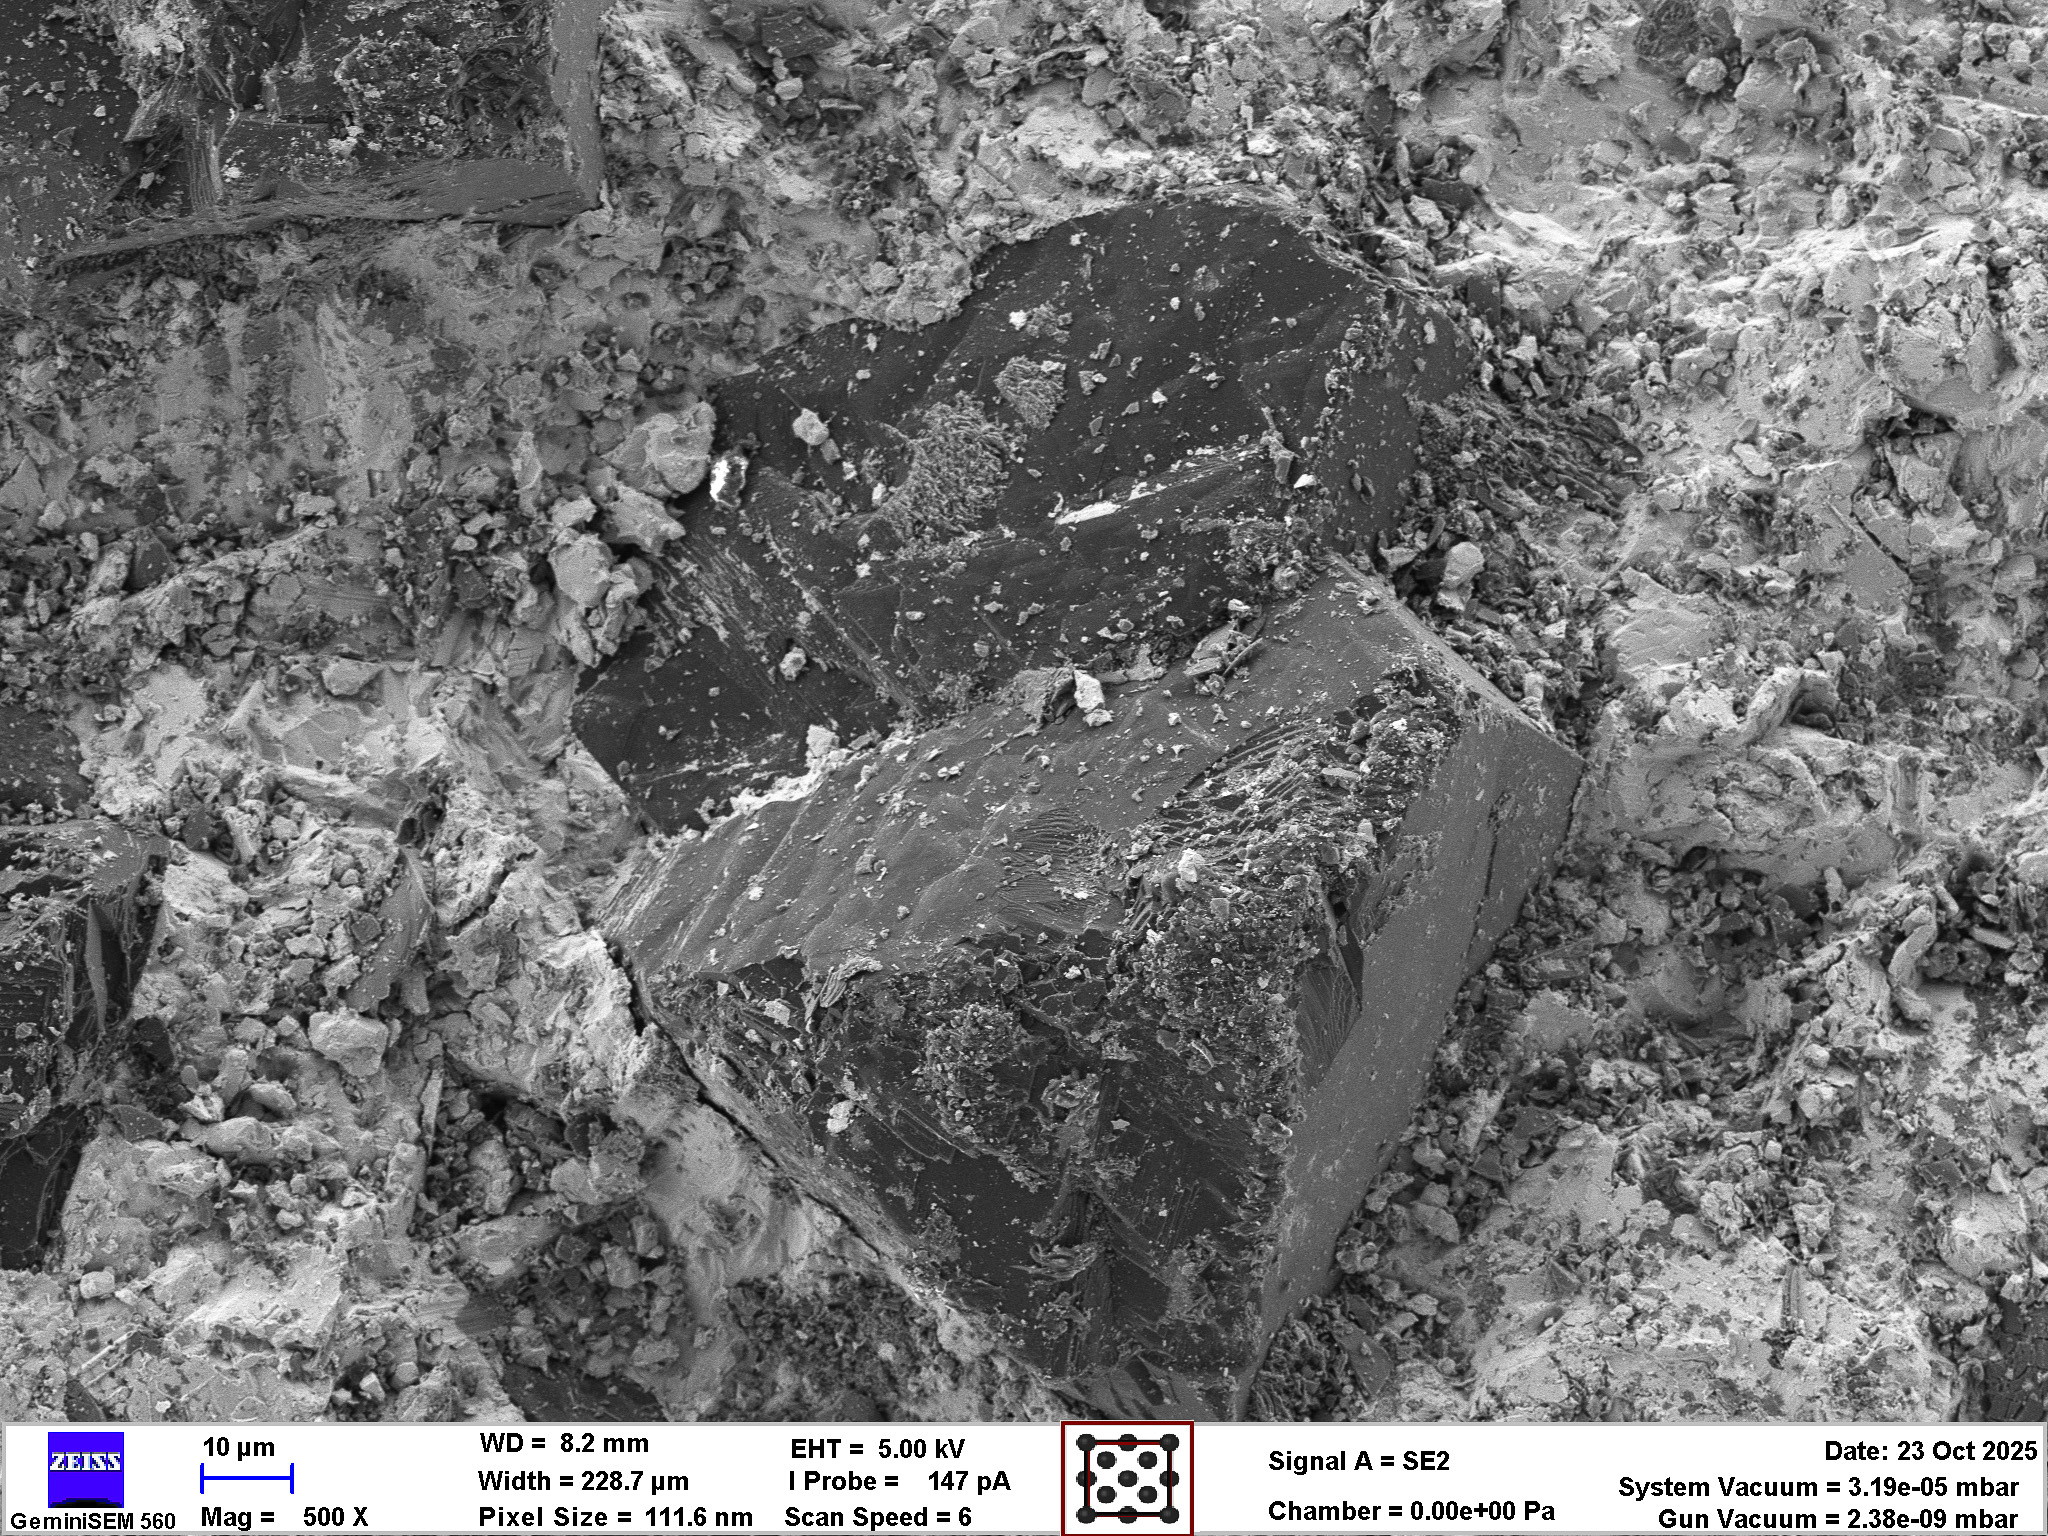
    SEM micrographs of the PDT Silver 160 grit stone. Instrument: Zeiss GeminiSEM 560.

    The view from the optical microscope is confirmed – we have large, blocky CBN grains inside a metal bond. The metal bond looks pretty regular and homogeneous. There are smaller abrasive particles interspersed between the gigantic (well, at least in the SEM…) CBN grains.

    Let’s look at the chemical composition! For this we are going to use an advanced SEM technique called EDS. If you want to know more about this, I’ve written extensively about SEM microanalysis here on this blog.

    EDS analysis of the PDT Silver 160 grit stone. Instrument: Oxford Ultim Max  ∞ 40mm2 EDS sensor. Note that our EDS sensor doesn’t show elements lighter than boron.

    Once again, we are shown a wonderful colourscape of different elements! The CBN grains are easily identified as such. The matrix consists once again out of copper, tin and iron. Moreover, a large number of decently fine SiO2 and SiC abrasive particles can be seen. SiC is often added as a filler to grinding tools to make them harder. This is in tune with the statement that these will last nearly forever! One can also make out some Al2O3 particles as well as trace elements. Overall, this is a very complex bond with lots of filler particles. I’m not a huge fan of fillers – I personally prefer to get more superabrasive!

    In order to evaluate the sharpening performance and material removal mode of this stone, a blade was sharpened with it. I am using a standardised testing procedure, read about it hereNevertheless, it’s 65 HRC M398, and sharpened to 17 DPS with resin bond diamond stones down to 10 µm. Afterwards, the tested stone is used, first in a back and forth movement until the surface becomes homogenous, and then alternating strokes (5-5-3-2) on each side, for a total of 20 strokes towards the apex per side. No pressure is applied but the weight of the apparatus.

    The edge is then analysed in the electron microscope for breakouts and morphological appearance.

    SEM micrographs of the edge finished with the PDT Silver 160 grit stone. Instrument: Thermo Fischer PhenomXL SEM.

    This sharpening stone is for sure a very coarse one! We are left with a ragged, wavy and “teethy” edge. The teeth are spaced apart about as far as the CBN grains are wide. This goes hand in hand with the feeling that this stone works like a file – quick material removal, with a coarse finish. Unfortunately, there is also a lot of cracking happening near the apex. The very hard bond most likely creates a lot of pressure that introduces these damages.

    Optical micrographs of the sharpened edge. Instrument: Leica Emspira

    Overall, this is probably the coarsest and roughest finish on a bevel I’ve had so far on this blog. Even the very coarse TSPROF alpha is not at this level. This stone is a decent choice if you need to remove a lot of material, fast. Nevertheless, it’s still slower than my favourite EP stone – the ATOMA, and leaves you with a higher degree of damages near the apex, that subsequent stones need to remedy.

    I don’t detest this stone – but I think there are better choices out there if you need a really coarse rework stone, EP stones being at the very front of that list!

    Sharpening disclaimer: I use a standardised approach to sharpening, which basically follows how most manufacturer of guided systems tell you to use this system. I am very aware, that every stone could perform much better than this, in terms of sharpness, but I want a comparable approach. The sharpening segment mostly shows the material removal mechanism – is it burnishing? is it cutting? is the cutting pressure too high so that carbides crack? Is there massive burr or prow formation? The BESS value definitely doesn’t highlight the ultimate sharpening performance of the stone, but was an often requested information. Over time, this blog will show BESS values for different edge morphologies, but by the holy endmill – don’t read it as a „this is the max value this stone can achieve“. I would also suggest to familiarise yourself with the works of Immanuel Kant, it’s absurd I need to write such a disclaimer here.

  • A brief study on sharpening stones – Part 41 – Nanohone (10 µm, Diamond)

    This is part of a series of blog posts – looking into the appearance and composition of commercially available sharpening stones. If you are interested in the previous episodes, check out the archive for them.

    If you have some suggestion on what I should look at next, or want to share your super secret DIY stones, I could be persuaded to open the bag of analytical devices… hit me up on Instagram under @marvgro for that.

    Disclaimer: I’m not for sale. Every review you see on this blog is bought with my own money. I have no affiliation to any manufacturer.

    Review

    Today’s sharpening stone is something quite special – a structured stone! Structuring grinding media is a relatively “novel” thing, in terms of many recent research endeavours. In my day job, this would be called “engineered grinding wheels”, EGW – and typically has massive improvements in terms of cutting pressure, cooling behaviour and swarf transport. Nanohone do 3D printed (yes! and apparently FDM printed?) sharpening stones, where the sharpening media is embedded into the filament. Thus, they are able to structure the stone surface. Let’s take a look under the microscope:

    Optical micrographs of the Nanohone 10 µm stone. Instrument: Leica Emspira

    If you excuse my choice of words – WILD! I did not expect this. As a side note – the anodised blank is absolutely top notch quality. Freeform fillets and rounded, very nicely anodised – this is probably the fanciest aluminium blank I have come across yet.

    Let’s take a closer look under the SEM. Because the filament is very non conductive, we need to image in modes that allow for lower charge up:

    SEM micrographs of the stone. Instrument: Zeiss GeminiSEM 560.

    Quite wild! We can see a lot of macro-structures here – not sure where they stem from! If one zooms in a lot, the diamonds become apparent in a decent distribution.

    Let’s look at the chemical composition! For this we are going to use an advanced SEM technique called EDS. If you want to know more about this, I’ve written extensively about SEM microanalysis here on this blog.

    EDS analysis of the stone. Instrument: Oxford Ultim Max  ∞ 40mm2 EDS sensor. Note that our EDS sensor doesn’t show elements lighter than boron.

    Pretty much what one would expect from a simple thermoplast – this is filament and diamond, and not much else. The diamond is very nicely distributed, but not in very high concentration. I would guess that a higher concentration would wreck absolute havoc on their 3D printer nozzles…

    In order to evaluate the sharpening performance and material removal mode of this stone, a blade was sharpened with it. I am using a standardised testing procedure, read about it hereNevertheless, it’s 65 HRC M398, and sharpened to 17 DPS with resin bond diamond stones down to 5 µm. Afterwards, the tested stone is used, first in a back and forth movement until the surface becomes homogenous, and then alternating strokes (5-5-3-2) on each side, for a total of 20 strokes towards the apex per side. No pressure is applied but the weight of the apparatus.

    The edge is then analysed in the electron microscope for breakouts and morphological appearance.

    SEM micrographs of the edge finished with the stone. Instrument: Thermo Fischer PhenomXL SEM.

    Trying out this stone was…a bit disappointing. It felt super slow, like rubbing a piece of 3D printed plastic across the bevel. Probably, because that’s what it’s doing. After an extensive amount of rubbing, some swarf was visible – and some micro scratches started appearing on the blade. I would guess that both the lower surface area, but also the low concentration do not really help with the pursuit of a fantastic cutting edge. The final result is frankly like a slightly ragged and worn down edge from my pre-preparation. It got noticeably duller and less keen than my 5 µm finish I did in preparation. Under the optical microscope, larger breakouts and dimples were visible at the apex (compare below).

    I’m not sure what to make of this. Their approach is novel, probably very difficult to achieve (mixing their own filament with a lot of abrasives?), it looks cool and is produced in a superb craftmanship. It’s just…after the first 20 strokes of this stone, I was wondering whether it works at all, and it didn’t get any better. With a much higher concentration, and no structuring, this could be a good sharpening stone, but then their unique selling point is kind of gone. Overall, I don’t think I’ll pick up this stone again.

    Optical micrographs of the blade finished with the nanohone stone. Instrument: Leica Emspira

    Sharpening disclaimer: I use a standardised approach to sharpening, which basically follows how most manufacturer of guided systems tell you to use this system. I am very aware, that every stone could perform much better than this, in terms of sharpness, but I want a comparable approach. The sharpening segment mostly shows the material removal mechanism – is it burnishing? is it cutting? is the cutting pressure too high so that carbides crack? Is there massive burr or prow formation? The BESS value definitely doesn’t highlight the ultimate sharpening performance of the stone, but was an often requested information. Over time, this blog will show BESS values for different edge morphologies, but by the holy endmill – don’t read it as a „this is the max value this stone can achieve“. I would also suggest to familiarise yourself with the works of Immanuel Kant, it’s absurd I need to write such a disclaimer here.