
This is part of a series of blog posts – looking into the appearance and composition of commercially available sharpening stones. If you are interested in the previous episodes, check out the archive for them.
If you have some suggestion on what I should look at next, or want to share your super secret DIY stones, I could be persuaded to open the bag of analytical devices… hit me up on Instagram under @marvgro for that.
Disclaimer: I’m not for sale. Every review you see on this blog is bought with my own money. I have no affiliation to any manufacturer. Note: this review is for my own product and in certain countries can be considered as advertisement. Therefore: beware, WERBUNG!
Review
Today’s sharpening stone is something very, very special. I humbly and very proudly present to you the result of spending a decade in the pursuit of REMOVING MATERIAL. The mad Dr. Marv bring’s you the fabulous:
Dr. Marv’s Scientific Sharpening Stones
This is my own design. I’ve written a bit more about this on the 20 µm stone review. Check it out here.
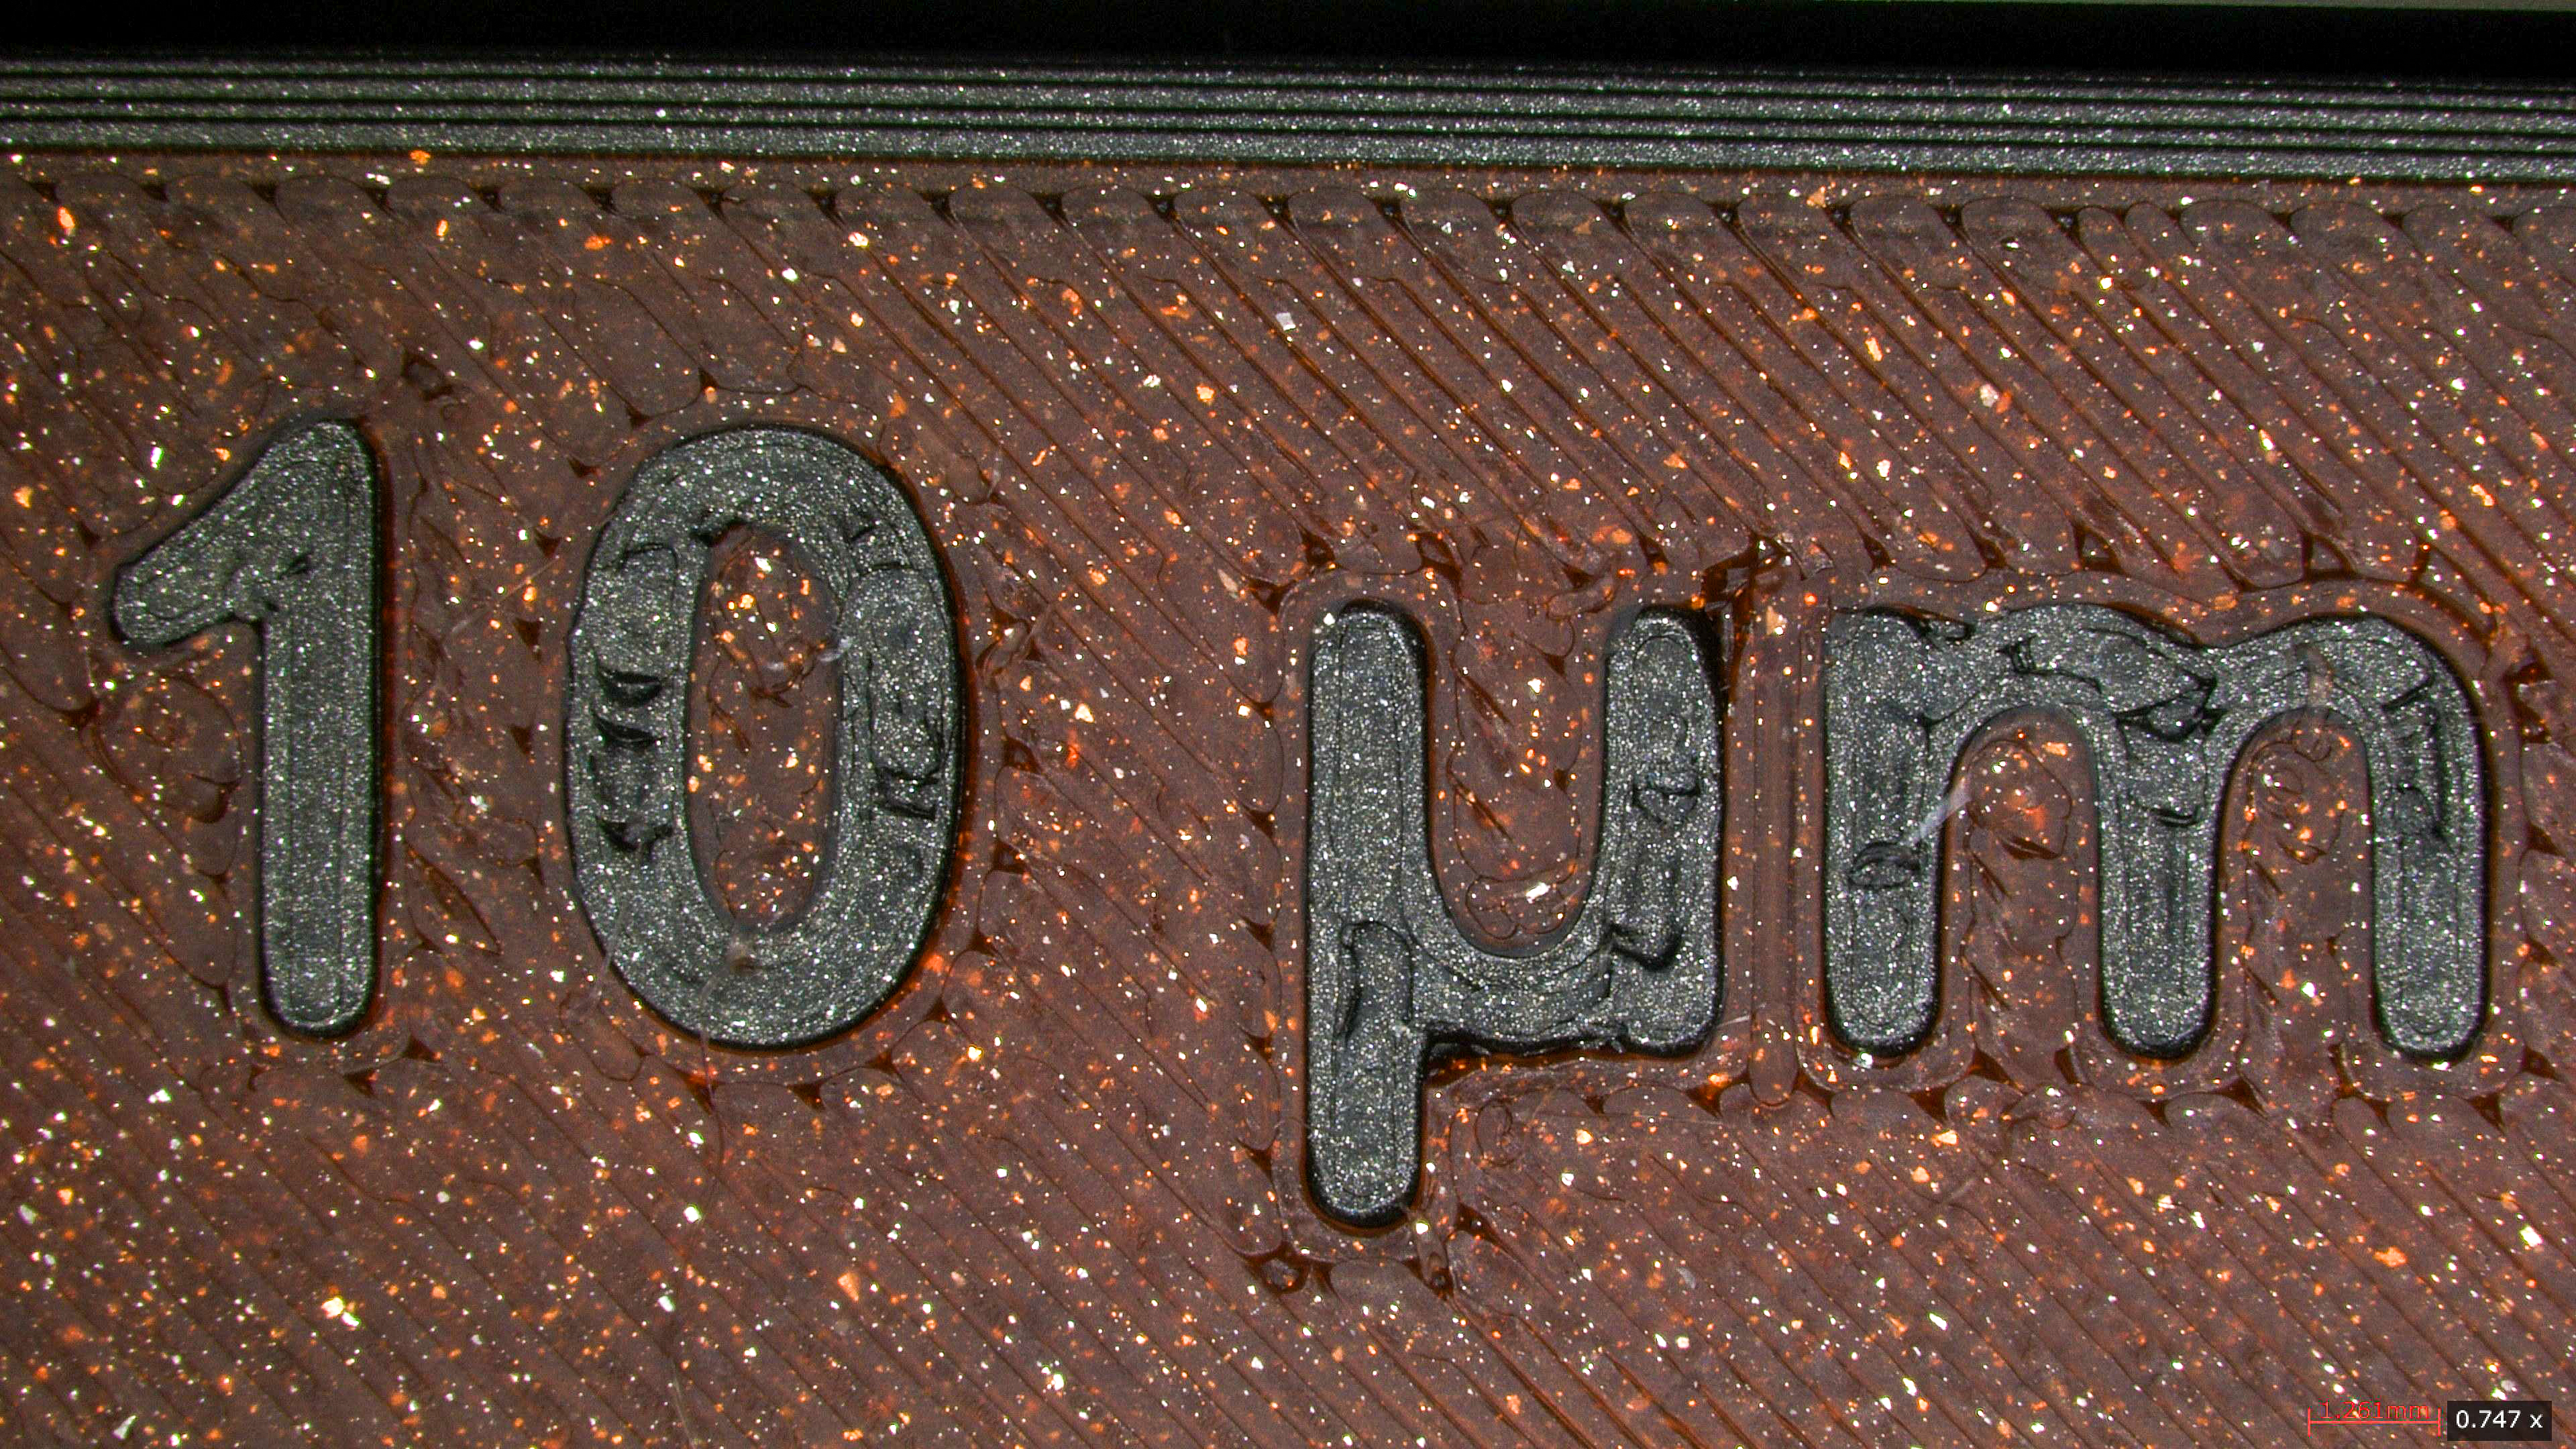
This time we are looking at the 10 µm stone:


Optical micrographs of the stone. Instrument: Leica Emspira
The stone is a slightly greenish colour, which stems from the diamond type used. We can see regular stripes going from left to right, with a low roughness. All particles are either sparkling diamond, or if oriented in a way that no refraction happens, pure greenish diamonds. The bond itself is colourless and off white.
The stripes that can be seen are the result of the dressing employed. If you’ve read my article on dressing, or any other review, you’ve realised by now that flattening/dressing is a source of contamination. In order to avoid this, I use single point diamond chiseling – a very advanced manufacturing technique, where a very sharp, lapped diamond tool is moved in a linear motion across the surface. This has the advantage, that no foreign particles can be pushed into the surface, and exceptionally smooth and flat surfaces can be created. Here, the roughness is specifically adjusted to allow for a maximum of lubrication.


SEM micrographs of a broken through stone. Instrument: Thermo Fischer PhenomXL.
In order to better show the diamond density and distribution, I took a stone and broke it in half. What you are looking at above is the “cleaved” surface through the stone. We can see that a) this is only and purely diamond! no foreign particles! and b) there is a MASSIVE amount of diamond in this stone. Compare this to any other diamond stone you have seen before on this blog.
The standard for grinding abrasives states the concentration in percent – a C100 concentration is supposed to be 25% by volume. The actual measurement (volume, weight times density, volume before sintering, volume after sintering…) is to my knowledge not defined. I have decided to just state the percentage by weight – which is 50%. 50% of this stone is diamond, 50% is resin.
Moreover, I’ve taken special care in the QC and production of these stones. The resin, aluminium and work is all made in Germany. The diamond is sourced from abroad, but heavily checked under the scanning electron microscope:

SEM micrograph of the used diamond powder. Instrument: Thermo Fischer Phenom XL
This first batch has the following particle metrics:

Particle metrics for the 10 µm nominal sized stone.
In order to evaluate the sharpening performance and material removal mode of this stone, a blade was sharpened with it. I am using a standardised testing procedure, read about it here. For this blade, the edge was first set with a coarse F150 electroplated diamond stone, and then prepared with a F400 and F600 EP diamond stone from TSPROF. Afterwards, it is ground with Dr. Marv’s 20 µm stone.
The edge is then analysed in the electron microscope for breakouts and morphological appearance.


SEM micrographs of the edge after preparation with Dr. Marv’s 20 µm stone. Instrument: Thermo Fischer PhenomXL SEM.
Then, the edge is prepared with Dr. Marv’s 10 µm stone. The stone is lubricated with a high performance honing oil. Afterwards, the edge is cleaned. No deburring/stropping is undertaken. We can see that a much smoother, more homogeneous edge is created. The burr is removed and a finer apex created.


SEM micrographs of the edge after preparation with Dr. Marv’s 10 µm stone. Instrument: Thermo Fischer PhenomXL SEM.
We can see that the already very fine surface was further refined. Especially the straightness of the cutting edge is impressive.
The difference is also easily visible under the optical microscope (note the identical magnification, chamfers are just differently sized as I used separate pieces of steel).


Edge Morphology under the optical microscope. First/Left picture: finished with F600 EP. Middle/Second picture: Finished with Dr. Marv’s 20 µm stone. Right/Third Picture: Finished with Dr. Marv’s 10 µm stone. Instrument: Leica Emspira.
Moreover, the gloss of the chamfer really starts to pop at this grit:

Photo of the surface of the cutting chamfer. Note the already very shiny reflection!
That’s it folks. I’m very proud to announce that these are now available in a very limited handmade batch. Link is here or find it in the shop the top of the blog!

The medium grit set of Dr. Marv’s Scientific Sharpening Stones in their storage box. Proudly handmade by Dr. Marv in the German Alps.
Leave a Reply